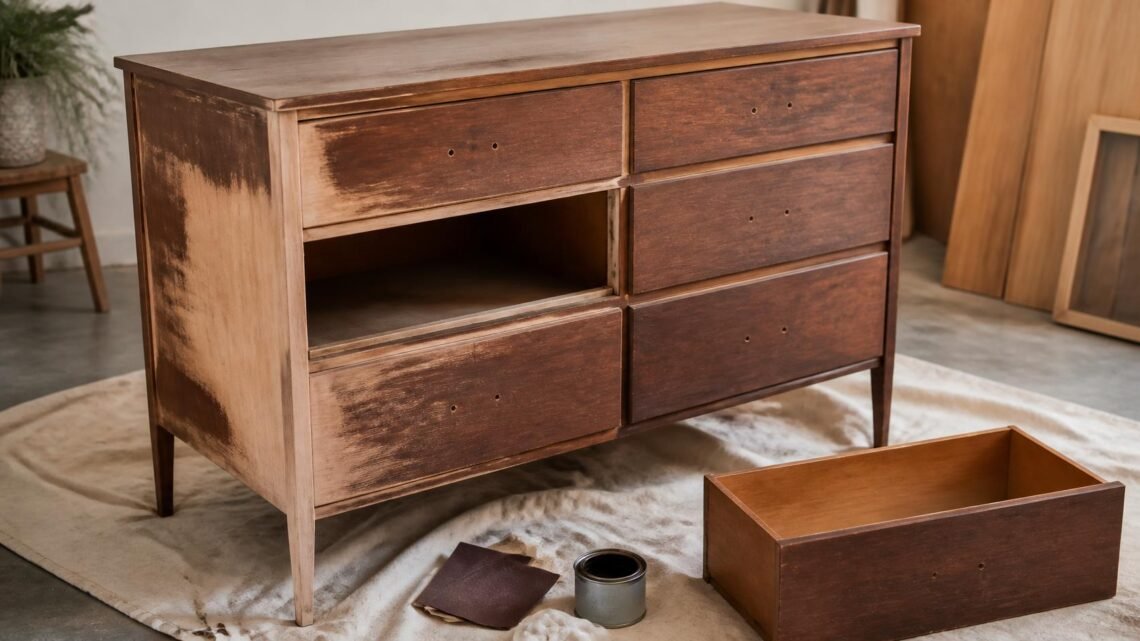
Refinishing a vintage piece can go one of two ways: you either uncover the character that made the piece worth saving in the first place, or you sand and paint it into something indistinguishable from a big-box piece — at which point you have to ask why you started with a vintage piece at all. Here’s how to tell the difference before you begin.
Start With an Honest Cleaning
Before deciding anything is wrong with a piece, clean it thoroughly with a mild wood-safe cleaner. A lot of what looks like damage is actually decades of grime, and a proper cleaning alone can reveal a finish that’s in far better shape than it first appeared.
Assess the Wood Before Sanding
Solid wood can typically be sanded and refinished multiple times. Veneer can only handle light sanding, if any, before you risk sanding through to the substrate underneath. Identify which you’re working with before committing to a full refinish.
When to Sand
Sanding makes sense when the existing finish is failing — peeling, alligatoring, or heavily water-damaged — or when you’re changing the wood tone significantly. If the finish is simply dull or lightly scratched, a cleaning and re-oiling may be all that’s needed.
When Not to Refinish at All
If a piece has genuine age-related patina, original hardware, or maker’s marks, consider leaving the finish alone entirely. A light cleaning and wax can revive an old finish’s shine without erasing the history that makes the piece valuable in the first place.
Stain vs. Paint: How to Decide
Stain preserves and enhances the wood grain, which matters most on higher-quality solid wood with attractive natural grain patterns. Paint is a better choice for pieces with less interesting grain, mismatched wood tones, or veneer that can’t handle heavy sanding.
Choosing the Right Stain
Test any stain on a hidden section first — the same stain can look dramatically different on different wood species. Warmer stains (walnut, cherry, honey) tend to read as more vintage-appropriate than cooler gray-toned stains.
Choosing the Right Paint
A chalk or mineral paint gives good coverage with minimal prep work, while a proper primer-and-enamel approach gives a more durable, factory-like finish for pieces that will see heavy daily use, like a dresser or dining table.
Hardware Is Half the Transformation
Updating pulls and knobs to a period-appropriate style — aged brass, glass, or ceramic — can shift the entire feeling of a piece as much as the refinishing itself, and it’s far less labor-intensive.
Safety Basics Before You Start
Older furniture, particularly pieces made before the 1970s, may have lead-based paint. Test before sanding any painted vintage piece, work in a ventilated space, and wear a proper respirator mask, not just a dust mask, when sanding old finishes.
What to Buy First
A mild wood cleaner and fine sandpaper for testing, then your chosen stain or paint, then a protective topcoat. Hardware can be purchased last, once you’ve confirmed the finish and can judge what style complements it.
Where to Spend vs. Where to Save
Spend on quality stain, paint, and a proper topcoat — poor materials here show up immediately and don’t hold up to daily use. Save by doing the labor yourself rather than outsourcing refinishing, which is one of the more accessible DIY furniture projects for a first attempt.
Respecting the Piece
The best refinishing projects respect what made a piece worth keeping in the first place. Clean before you sand, assess before you strip, and when in doubt, do less rather than more. Character is easy to remove and very hard to put back.